How to Connect a Projector to a Laptop
Connecting a projector to a laptop comes down to one cable and a couple of settings: plug the projector into your laptop’s video port, then tell your laptop to send the picture to it. Most projectors made in the last decade use HDMI, which carries both video and sound through a single cable, so the whole process usually takes under two minutes. This guide covers the cables, the on-screen steps for Windows and Mac, and the fixes for the problems that trip people up.
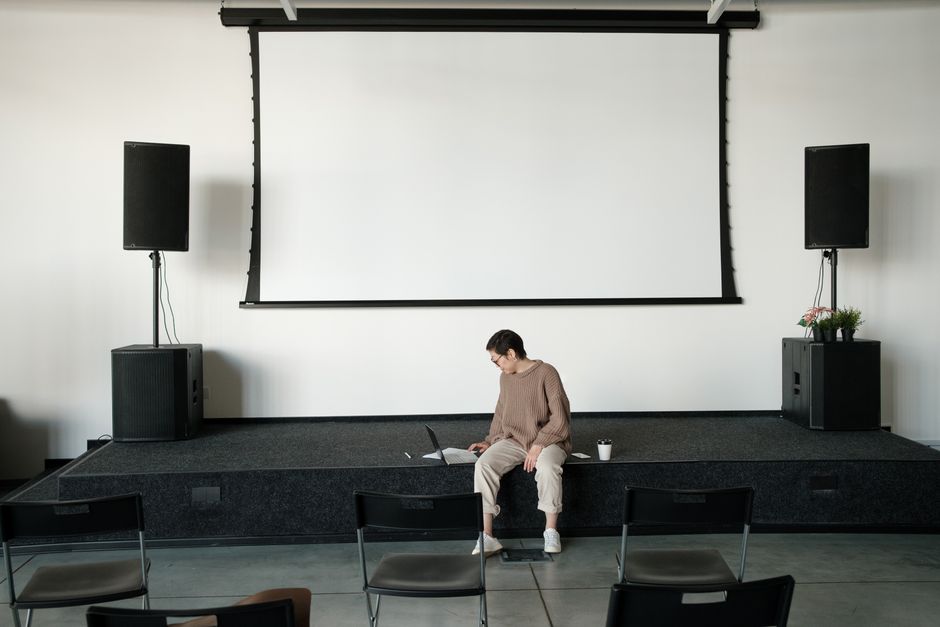
Identify the Ports on Both Devices
Start by looking at what connectors your laptop and projector actually have. On the laptop, check the sides for an HDMI port, a USB-C port, or on older machines a VGA connector. On the projector, look at the input panel, usually on the back or side, where you will find HDMI and sometimes VGA.
The goal is a matching pair. If both devices have HDMI, that is the easiest path. If your laptop only has USB-C, you will need a USB-C to HDMI adapter or cable, since most projectors do not take USB-C directly. Older projectors with only VGA carry video but not audio, so plan to route sound separately through a speaker or the projector’s audio input.
Choose the Right Cable

The cable you need follows directly from the ports you found. An HDMI to HDMI cable is the standard choice and handles both picture and sound. A USB-C to HDMI cable works when your laptop uses USB-C, as long as that port supports video output, which most modern laptops do.
Length matters more than people expect. A standard HDMI cable runs reliably up to about fifteen feet; beyond that, picture dropouts become common unless you use an active cable rated for the distance. Buy a cable a little longer than the gap between your laptop and the projector so you are not stretching it tight across a room.
Connect the Laptop and Projector
Power on the projector first and let it warm up, since some models take thirty seconds before they accept a signal. Plug the cable into both devices, then use the projector’s Source or Input button to select the port you plugged into, such as HDMI 1. Projectors frequently default to the wrong input, and this single button press solves most no-signal complaints.
With the cable connected and the input selected, your laptop should detect the projector within a few seconds. If the screen stays dark, the next section covers how to push the image over manually.
Set the Display Mode in Windows
On Windows, the fastest way to control the projector is the keyboard shortcut Windows key plus P. A panel slides in from the right with four choices: PC screen only, Duplicate, Extend, and Second screen only.
Duplicate shows the same image on your laptop and the projector, which is what you want for a presentation. Extend treats the projector as extra desktop space, useful when you want notes on your laptop that the audience cannot see. If you prefer the mouse, right-click the desktop, open Display settings, and pick the same options from the Multiple displays menu.
Set the Display Mode on Mac
On a Mac, open System Settings and select Displays. Your Mac should list the projector as a second display once the cable is connected. Click the arrangement view to choose between mirroring and extending.
Turn on Mirror Displays to show identical content on both screens for a presentation. Leave it off to extend your workspace onto the projector. If the projector does not appear, hold the Option key and a Detect Displays button appears in the Displays settings, which forces your Mac to look for it again.
Get the Audio Working
When you connect over HDMI or USB-C, sound should travel with the video, but your laptop sometimes keeps playing audio through its own speakers. On Windows, click the speaker icon in the taskbar and choose the projector as the output device. On Mac, open the Sound settings and select the projector under Output.
If you used a VGA cable, no audio crosses it at all. Run a separate 3.5mm audio cable from your laptop’s headphone jack to the projector’s audio input, or connect external speakers to your laptop directly.
Fix a Blurry or Wrong-Sized Image
A soft picture is almost always a focus or resolution issue rather than a broken projector. Use the focus ring on the lens to sharpen the text, and adjust the zoom or move the projector to fill the screen properly.
If the image looks stretched or does not fit, set your laptop’s resolution to match the projector’s native resolution, listed in its manual. In display settings, lowering the resolution to a standard like 1920 by 1080 often clears up an image that spills off the edges of the projection surface.
Troubleshoot a No-Signal Screen
When the projector shows a no-signal message, work through the causes in order. Confirm you selected the correct input on the projector, since this is the most common cause. Reseat both ends of the cable, because a slightly loose HDMI connector produces exactly this symptom.
If the picture still will not appear, test the cable on another device or try a different cable, as HDMI cables fail more often than people assume. On Windows, pressing Windows key plus P and choosing Duplicate can also force the signal out to a projector that was not receiving it.
Wrap Up Your Setup
Once the picture is sharp and the sound plays through the right device, your projector is ready for presentations, films, or a big-screen work session. Keep the cable you tested with the projector so you are not hunting for a working one next time.
A quick habit saves future headaches: power the projector on before connecting, select the input first, and use Windows key plus P or the Mac Displays panel to push the image across. With those three steps, connecting a laptop to a projector becomes a thirty-second job.