How to Connect an External Monitor to a Laptop
Connecting an external monitor to a laptop turns a cramped screen into a full workspace, and it takes just one cable plus a quick settings change. You plug the monitor into your laptop’s video port, and the laptop either mirrors its screen or extends the desktop onto the larger display. Nearly every laptop supports at least one external monitor out of the box. This guide covers finding the right port, choosing a cable, and arranging the screens on Windows and Mac.
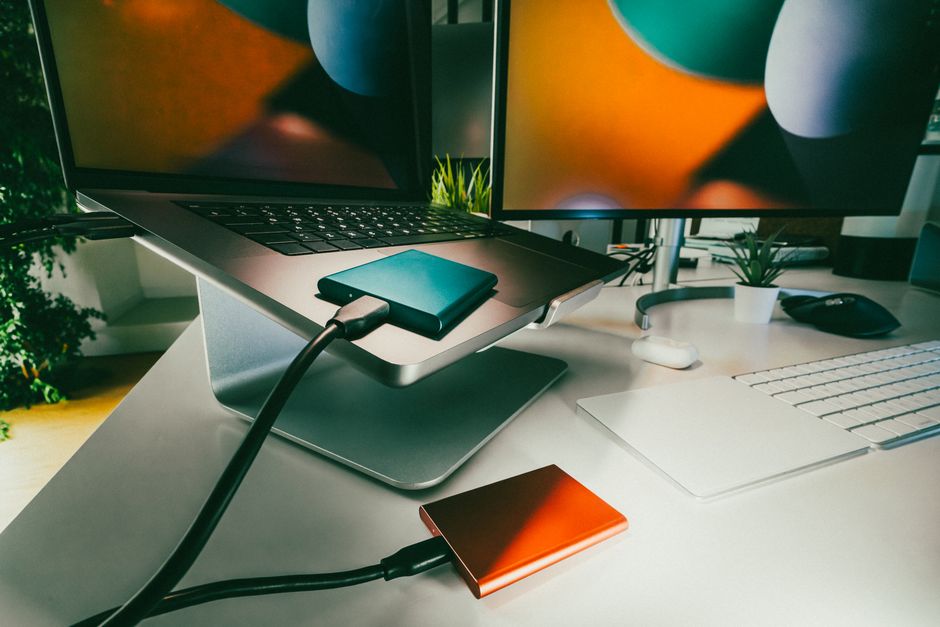
Find Your Laptop’s Video Output
Look along the sides of your laptop for a video port. The most common are HDMI, a full-size rectangular port with beveled corners, and USB-C, a small oval port. Some business laptops also carry Mini DisplayPort or a full DisplayPort, and older models may have a trapezoid-shaped VGA connector.
Not every USB-C port sends video, so this catches people out. A USB-C port that supports display output usually has a small DisplayPort or Thunderbolt lightning-bolt icon beside it. If your only ports are plain USB-C without that marking, you may need a docking station instead of a simple cable.
Check the Monitor’s Inputs
Now look at the back of the monitor to see what it accepts. Most monitors have HDMI, and many add DisplayPort or USB-C. Match the monitor’s input to your laptop’s output to decide on a cable.
If both devices share a connector, such as HDMI on each, you need only a matching cable. When they differ, for example a USB-C laptop and an HDMI-only monitor, an adapter or hybrid cable bridges the gap. Note which HDMI or DisplayPort version each device supports if you want high refresh rates, since older versions cap what the monitor can display.
Pick the Right Cable or Adapter
The cleanest connection is a single direct cable, like HDMI to HDMI or USB-C to USB-C, with no adapters in between. Every extra connection point is a place the signal can weaken, so keep the chain short.
When your ports do not match, choose a purpose-made cable over stacked adapters. A USB-C to HDMI cable is more reliable than a USB-C to HDMI dongle plus a separate HDMI cable. Buy a cable rated for your monitor’s resolution and refresh rate; a cheap cable can limit a high-resolution monitor to a lower, blurrier mode.
Connect and Power On
Plug the cable into both the laptop and the monitor, then connect the monitor to power and switch it on. Boot or wake the laptop, and it should detect the second screen within a few seconds.
If the monitor stays blank, press its Input or Source button and select the port you used, such as HDMI 1, since monitors often default to the wrong input. A firmly reseated cable fixes most of the remaining cases where the laptop does not see the display.
Arrange the Screens in Windows
On Windows, right-click the desktop and open Display settings. You will see two numbered rectangles for your screens. Drag them to match your physical layout so the mouse crosses between them naturally.
From the Multiple displays menu, choose Extend to use both screens as one workspace, or Duplicate to mirror the laptop onto the monitor. To make the external monitor your main screen, click its rectangle and check the box to make it the primary display, which moves your taskbar there.
Arrange the Screens on Mac

On a Mac, open System Settings and select Displays. Your connected monitor appears alongside the built-in screen, shown as tiles you can drag into position.
Set the arrangement to extended for more workspace, or turn on Mirror Displays to show the same image on both. Drag the white menu bar onto the external monitor if you want it to act as the main display. The Mac remembers this layout, so you configure it only once per monitor.
Close the Laptop and Use Only the Monitor
Many people want the laptop lid closed while using just the external monitor, sometimes called clamshell mode. On a Mac, connect power and an external keyboard and mouse, then close the lid and the Mac drives only the monitor.
On Windows, open Control Panel, go to Power Options, and set the action for closing the lid to Do nothing while plugged in. After that, closing the lid keeps the laptop running with output on the external screen. Keep the laptop well ventilated in this mode, since a closed lid traps some heat.
Fix Common Connection Problems
If the external monitor is not detected, start with the cable: reseat both ends and try a different cable, as cable failure is the top cause. On Windows, press Windows key plus P and choose Extend to force output to the monitor. On Mac, hold Option in Displays settings and click Detect Displays.
When the image looks fuzzy or the wrong size, set the monitor to its native resolution in display settings. Flickering usually means a cable or adapter that cannot handle the refresh rate, so swap the cable before blaming the monitor. If the monitor works but has no sound, select it as the audio output in your system’s sound settings.
Enjoy the Extra Screen Space
With the monitor connected and arranged, you have room to keep your main work on the big screen and reference material or chat on the laptop. Give each display a clear role and the setup pays off immediately.
The whole process is a one-time setup per monitor, since both Windows and Mac remember the arrangement and reconnect automatically next time. Once it is dialed in, plugging into your external monitor becomes a single-cable habit that instantly doubles your working space.