How to Fix Controller Drift
Controller drift happens when your character or camera moves on its own, even though you are not touching the thumbstick. It is caused by the analog stick sending a signal when it should read zero, usually from dust under the stick or worn internal parts. The good news is that most drift can be fixed at home in a few minutes, and this guide walks through every fix from the simplest to the most involved, for Xbox, PlayStation, and Switch controllers.

Understand What Causes Drift
Knowing the cause helps you pick the right fix. Inside each thumbstick sits a small mechanism that reports its position. When dust, hair, or debris works its way under the stick, it interferes with those readings and the controller thinks the stick is pushed when it is centered.
Over time, the internal contacts also wear down from millions of movements, which produces drift that cleaning alone cannot cure. Start with the assumption that dirt is the culprit, since that is true most of the time and costs nothing to rule out. If cleaning fails, the wear-based fixes later in this guide address the harder cases.
Recalibrate the Controller First
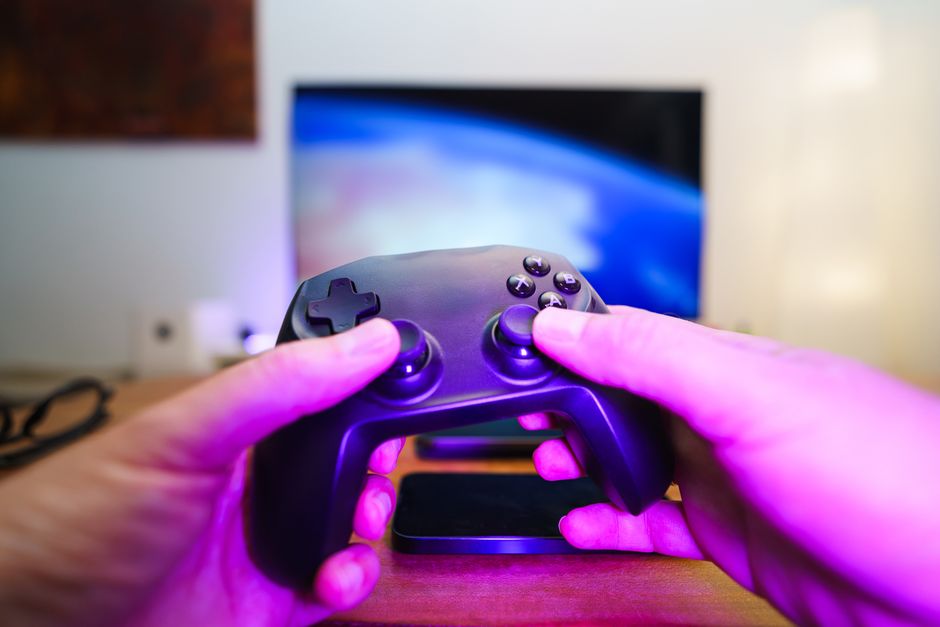
Before opening or cleaning anything, try recalibration, which resets the controller’s sense of where center is. This alone resolves mild drift on many controllers.
On a PlayStation, there is no built-in calibration menu, but resetting the controller with the small button on the back often helps. On a Switch, open System Settings, go to Controllers and Sensors, and choose Calibrate Control Sticks. On PC, Windows has a calibration tool under game controller settings, and Steam offers its own controller calibration in Big Picture mode. Run the calibration, then test the stick in a game before moving on.
Clean Around the Thumbstick
If recalibration does not solve it, cleaning is the next and most effective step. You will need isopropyl alcohol, ideally ninety percent or higher, and a few cotton swabs or a can of compressed air.
Push the drifting thumbstick to one side to expose the base, then dampen a swab with alcohol and work it gently around the ring where the stick meets the housing. Rotate the stick as you clean so you reach all sides. A short burst of compressed air blows out loosened debris. Let the alcohol dry fully, which takes a minute or two, before you power the controller back on and test it.
Reset the Controller
A full reset clears software glitches that occasionally mimic drift. The method depends on your controller.
On an Xbox controller, remove the batteries or unplug it, wait thirty seconds, and reconnect. On a PlayStation DualShock or DualSense, find the tiny reset hole on the back and press the button inside with a paperclip for about five seconds, then repair the controller. On a Switch Joy-Con or Pro Controller, press the small sync button once, then reconnect. After resetting, recalibrate again and test.
Update the Controller Firmware
Manufacturers release firmware updates that sometimes improve stick handling and deadzone behavior. Outdated firmware can leave a controller more prone to reported drift.
On Xbox, connect the controller and open the Accessories app to check for updates. On PlayStation, the console prompts you to update the controller when you connect it during a system update. On Switch, controller updates arrive through system settings under Controllers and Sensors. Applying the latest firmware is a quick, no-risk step worth doing before any hardware fix.
Adjust the Deadzone in Games
Many games and platforms let you set a deadzone, the small area around center where stick movement is ignored. Increasing the deadzone tells the game to treat minor false signals as nothing, which masks light drift.
Look in a game’s control settings for a deadzone slider, or set it system-wide through Steam’s controller configuration on PC. This does not repair the hardware, but it makes a lightly drifting controller usable again, especially if you are waiting on a replacement or a repair part. Raise the deadzone only as much as needed, since too large a deadzone makes the stick feel unresponsive.
Replace the Thumbstick Module
When cleaning and calibration fail, the analog stick module itself is worn and needs replacing. This is a repair for people comfortable with a screwdriver and a soldering iron, since the module is soldered to the controller board.
Replacement modules are inexpensive and widely sold for every major controller. The job involves opening the controller, desoldering the old module, and soldering in the new one. If soldering is beyond your comfort, many repair shops do this swap for a modest fee, which still costs far less than a new controller. Hall-effect replacement sticks, which use magnets instead of physical contacts, resist drift far longer and are worth choosing if available for your controller.
Prevent Drift From Coming Back
A few habits slow drift’s return. Store your controller in a clean, covered spot rather than on an open shelf where dust settles into the sticks. Wash your hands before long sessions, since skin oil and grime are what work under the stick in the first place.
Avoid resting the controller face-down where the sticks press against a surface, which grinds debris inward over time. A periodic light cleaning around the stick base, even before drift appears, keeps the mechanism clear and extends the life of the controller.
Get Back to Gaming
Most controller drift clears up with recalibration and a careful cleaning, both of which take only minutes and cost nothing. Work through the fixes in order, testing after each, and you will resolve the majority of cases without opening the controller at all.
When drift comes from worn internals, a module replacement or a repair shop visit restores the controller for a fraction of the price of a new one. Either way, a drifting stick is a fixable problem, not a reason to throw the controller out.