How to Use Noise Cancellation on AirPods
To turn on noise cancellation, press and hold the force sensor on the stem of either earbud until you hear a chime. On AirPods Max, press the noise control button on the right ear cup instead. This guide covers how to use noise cancellation on AirPods from the earbuds themselves, from your iPhone, and from non-Apple devices, plus what to do when the feature stops pulling its weight.
Check That Your AirPods Support Noise Cancellation
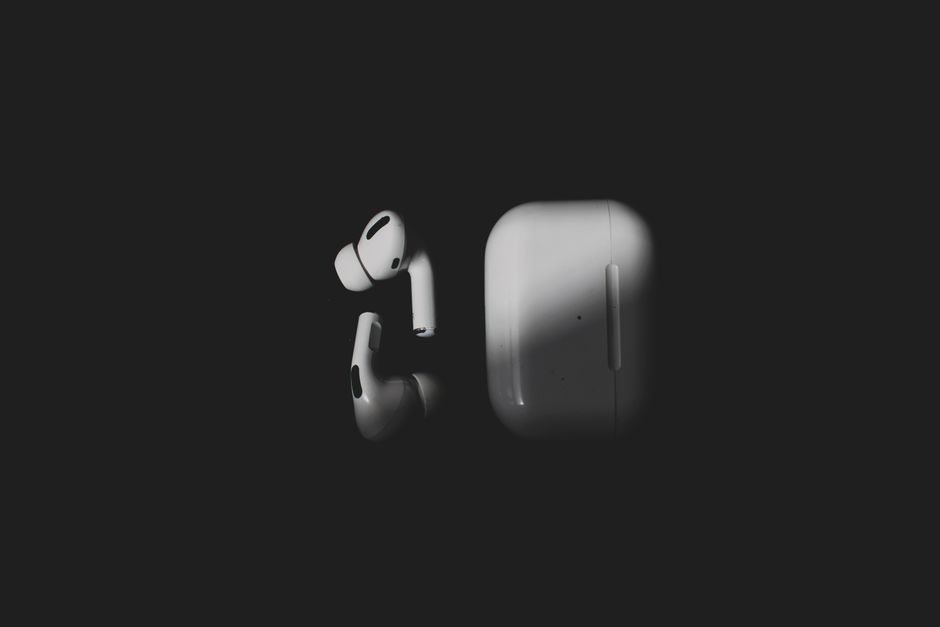
Active noise cancellation is not available on every model. AirPods Pro and AirPods Max include it, and some newer standard AirPods offer it as well, but older base models rely on passive isolation from their fit alone.
The quickest way to check: connect your AirPods to an iPhone, open Settings, and tap your AirPods near the top of the menu. If you see a Noise Control section with Noise Cancellation listed as an option, your model supports it.
If that section is missing, no software trick will add it — the hardware simply is not there. You can still improve isolation with better-fitting tips, but active cancellation is off the table.
Turn On Noise Cancellation From the Earbuds
The fastest answer to how to use noise cancellation on AirPods is the earbuds themselves. No phone required.
- Put both AirPods in your ears. The feature works best with both earbuds in, and default settings disable it when you wear only one.
- Press and hold the force sensor — the flat indent on the stem — for about a second.
- Listen for the chime. A soft tone confirms the mode change. Holding again cycles to the next mode.
- On AirPods Max, press the noise control button on the right ear cup to cycle between modes the same way.
By default the press-and-hold gesture cycles between Noise Cancellation and Transparency. You can change which modes are included in that cycle from the AirPods settings screen on an iPhone or iPad.
Switch Modes From Your iPhone or iPad
Control Center gives you a visual way to switch modes and confirm which one is active.
- Open Control Center by swiping down from the top-right corner of the screen.
- Press and hold the volume slider while your AirPods are connected.
- Tap the Noise Control button that appears below the slider.
- Choose Noise Cancellation, Transparency, or Off.
You can also open Settings, tap your AirPods, and pick a mode under Noise Control. The setting syncs both ways, so whichever method you use, the earbuds behave the same.
Tip: The mode you pick stays active until you change it, even after the AirPods go back in the case. If music suddenly sounds muffled days later, you probably left cancellation on.
Noise Cancellation vs. Transparency: When to Use Each
| Mode | What it does | Best for |
|---|---|---|
| Noise Cancellation | Cancels outside sound with inverted audio waves | Flights, commutes, noisy offices |
| Transparency | Pipes outside sound in through the microphones | Walking near traffic, quick conversations |
| Off | No processing, passive isolation only | Quiet rooms, stretching battery life |
Noise cancellation shines against constant low rumble — engines, fans, air conditioning. It is less effective against sudden sounds like a barking dog or a slammed door. Transparency is the safer pick outdoors, because you keep awareness of cars and people around you.
Both processing modes use slightly more battery than Off, so it is worth switching modes deliberately rather than leaving one on around the clock.
Use AirPods Noise Cancelling on Android and Windows

AirPods noise cancelling works on any Bluetooth device, not just Apple hardware. Pair the AirPods like any other headphones, then use the press-and-hold gesture on the stem to cycle modes, since the on-screen controls only exist on Apple devices.
What you lose without an iPhone or iPad: mode customization, the ear tip fit test, and firmware updates, which install automatically when AirPods sit near a connected Apple device. If you can borrow an iPhone occasionally, pairing your AirPods with it for a few minutes keeps the firmware current.
Fix Noise Cancellation That Sounds Weak or Cuts Out
A poor seal is the most common reason people struggle with how to use noise cancellation on AirPods effectively. The feature depends on the ear tips physically blocking sound before the electronics handle the rest.
- Try a different ear tip size. Swap the tips and run the Ear Tip Fit Test from the AirPods settings screen on an iPhone.
- Clean the microphone mesh. Debris over the small ports muffles the microphones that drive the cancellation.
- Toggle the mode off and on from Control Center to clear a stuck state.
- Update the firmware by keeping the AirPods connected to an Apple device for a while.
- Reset the AirPods. Put them in the case, hold the setup button until the status light flashes, then pair again.
Warning: Never use liquids or sharp objects on the microphone mesh. A dry, soft-bristled brush is enough, and a punctured mesh cannot be repaired at home.
Frequently Asked Questions
Does noise cancellation work with one AirPod? Not by default. There is an accessibility setting on iPhone that allows noise cancellation with a single earbud, but the effect is weaker because the seal on the other ear is missing.
Why do my AirPods not show a Noise Cancellation option? Your model most likely does not have the hardware for it. Check the Noise Control section in the AirPods settings on an iPhone to confirm.
Does noise cancellation drain the battery faster? Yes, slightly. Turning it off when you do not need it stretches listening time, though the difference over a single session is modest.
Can I use noise cancellation during calls? Yes. The mode keeps working during calls, which helps in loud places. Switch to Transparency if you need to hear your own surroundings while talking.
How do I know which mode is currently active? On an iPhone, expand the volume slider in Control Center and look at the highlighted Noise Control option. On other devices, rely on the chime and your own ears.